당신은 무엇을 찾고 있습니까?

1. 오일 필터 엘리먼트를 풀어서 버리십시오.
2. 필터 하우징을 철저히 청소하고 입구와 출구의 압력차 통과 구멍을 막힘 없이 청소하십시오.
3. 압력차 트랜스미터의 성능을 점검하십시오.
4. 새 필터 엘리먼트에 오일을 바르십시오(필터 엘리먼트의 밀봉 링에 얇은 오일 층을 코팅하십시오).
5. 필터 엘리먼트를 설치할 때는 개스킷에 닿을 때까지 나사를 조인 다음, 손으로 1/3바퀴 더 조여줍니다.
6. 시동 후 누출 여부를 확인하십시오.
1. 최소 압력 밸브에서 모든 연결 호스와 구리 파이프를 제거하십시오.
2. 오일 회수 라인의 구리 파이프를 분해합니다.
3. 덮개판을 분리하십시오.
4. 필터 요소를 빼냅니다.
5. 실린더 본체를 청소하십시오.
6. 새 필터 소자를 장착하고 분해의 역순으로 모든 구성 요소를 재조립합니다.
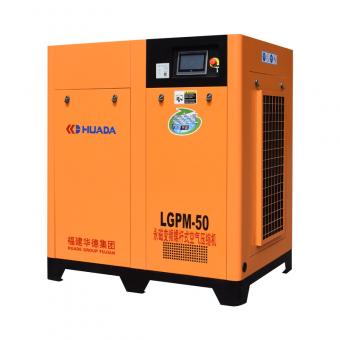
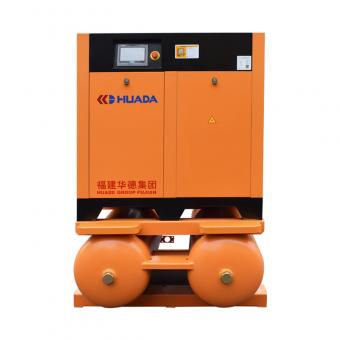
스크류 압축기의 조기 마모 및 오일-공기 분리기의 미세 필터 요소 막힘을 방지하기 위해 공기 필터 요소는 정기적으로 청소하거나 교체해야 합니다. 500시간 작동 먼지가 많은 환경에서는 교체 주기를 단축해야 합니다. 필터 교체 시에는 컴프레서를 정지해야 합니다. 가동 중지 시간을 최소화하려면 새 필터 또는 미리 세척된 예비 필터 엘리먼트를 설치하는 것이 좋습니다.
공기 압축기의 필터는 세 개 모두 종이 필터 엘리먼트입니다. 공기 필터 엘리먼트는 세척 후 재사용할 수 있지만, 나머지 필터는 새것으로 교체하는 것이 좋습니다. 금속 필터 스크린과 엘리먼트는 세척하십시오. 오직 깨끗한 오일, 부드러운 브러시 또는 에어건을 사용하여 오염 물질을 불어내십시오. 청소할 때 절대로 불을 사용하지 마세요. .
1. 필터 요소의 양쪽 끝면을 평평한 표면에 번갈아 가며 가볍게 두드려 무겁고 건조한 먼지를 대부분 제거하십시오.
2. 압력이 인 건조 압축 공기를 사용하십시오. 0.28 MPa 미만 필터 엘리먼트에 공기 흡입 방향과 반대 방향으로 바람을 불어넣으십시오. 공기 노즐을 최소한 일정 거리 이상 유지하십시오. 25mm 주름진 종이에서 떼어내어 필터 요소의 높이를 따라 위아래로 움직입니다.
3. 필터 소자를 검사하고 얇아짐, 미세한 구멍 또는 손상이 발견되면 즉시 폐기하십시오.


 IPv6 네트워크 지원
 English
 français
 Deutsch
 русский
 español
 português
 日本語
日本語 한국의
한국의 ไทย
ไทย 中文
中文